Tuesday, September 25, 2012

Le Cotage Conversion- Firm Pillow Filling

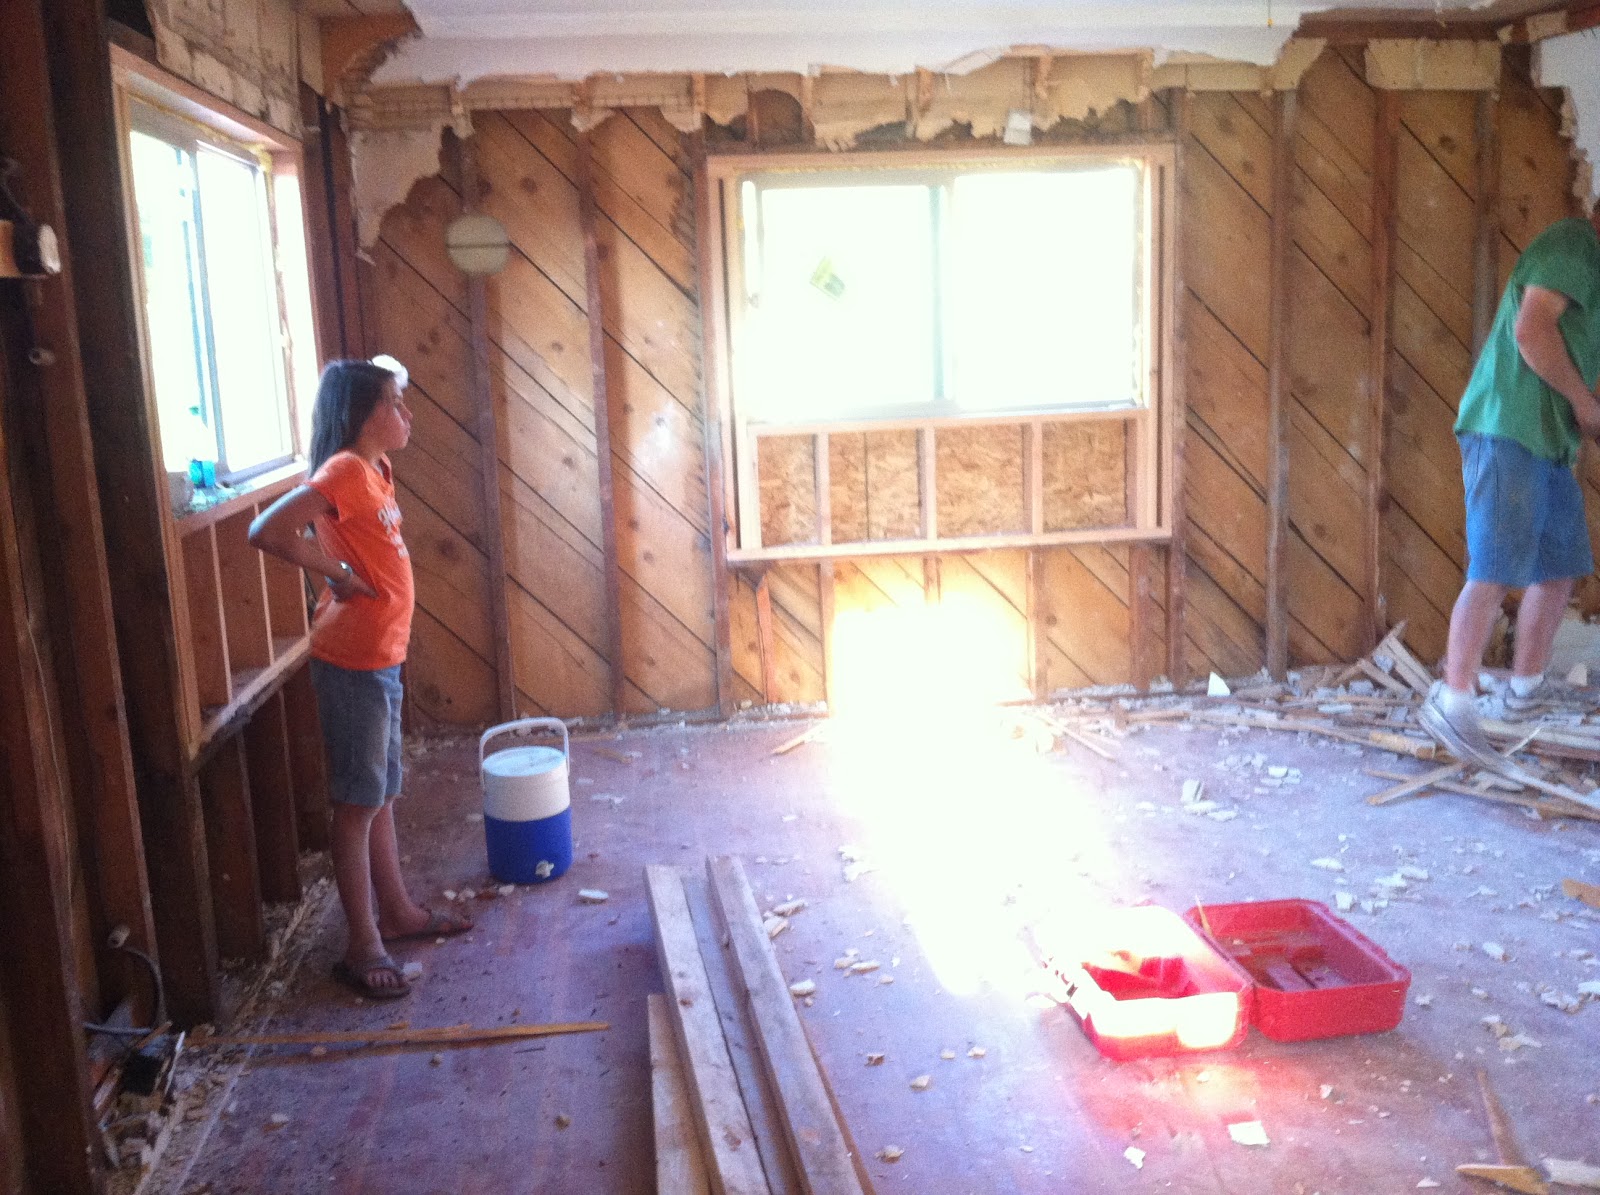
"These have to come out, don't they?", I said.

"Yeah... you were too quick to thank that guy for not using mastick on that lanoleum.", says he.


Tried this for a while. Then enlisted vice-grips. Much better!


Here, we are decorating for Halloween.

Ha ha. Just kidding.

This netting gets stapled up to the studs on the exterior walls to hold the insulation.


We used 115 lineal feet.


Day one and day two we blow insulation up in the attic.

This blue thing is called a hopper.


Harrison and I fed Hopper, the monster, breakfast, lunch and dinner- over and over and over. Sometimes dessert, too.

This insulation is fibers of recycled paper. You could see words and a couple times we found ribbon.


So, if you're ever going to blow insulation into your attic here's how it's going to go. Your husband is going to stick an entire bale into the hopper on its end. When you turn it on, it's not going to work because the agitator can't break it up. He's going to blame you for doing something wrong. You're going to think to yourself, I should break these up into smaller chunks. Then the insulation will have a regular flow. And we all know that having a regular flow is the way to go.


Harrison left me. Jake and I were there till 9:30 pm. That's a picture through the door. There's the ladder up to the attic.

Did I mention that I'm scared of heights? I mean REALLY scared of heights.


Day two, we start blowing insulation into the walls.


This is fiber-glass insulation. But it's nothing like the traditional 'batting'. This is like thick cotton candy. It doesn't irritate the skin but does irritate the throat. So, we wore face masks.

Again, break it up and put it in the hopper.


There she is. All tucked in and ready for bed. You want to fill the channels till they feel like a firm pillow. The house is already warmer.


Day three, we finished the walls and did some more in the attic. Then, I took the rest of the day OFF!


Sunday, September 23, 2012

Le Cotage Conversion- Putting up Walls

Jake started framing walls and doorways. In this shot, that little room back there was the original kitchen. Tiny! There was already a doorway and wall but we wanted to put in a pocket door. When you walk through that door immediately to the left is the following:

This little alcove was where the stove sat with counters on either side. We put this wall and pocket door here to make a powder room. I'm excited to make the sink for this room. Yes, I said MAKE the sink.


Remember the original door to the bathroom? It's gonna be a wall!


Now that bathroom's door is in the master bedroom. The short wall will have glass above it. It will be a shower room. No curtain, no door.

His and hers closet. His on the left, hers on the right. He gets to design his, I get to design mine. See the original opening on the right? There was a large cubby that started half-way up the wall leading to the attic access. That was it for closet space in this room.

We cut in openings for can lights!

We will never complain that there's not enough light. Yay!

Plus, the living room and bedroom have dimmer switches.

Don't worry, that ugly fan is going away.

Sunday, September 2, 2012

Le Cotage Conversion- Bricks and a Toilet

See the wall which the open french-door is against? That is where the bedroom closet was. Directly behind Jake's body is the door to the bathroom. That stove is the one that was in the other corner. See the opening above the fireplace? That wasn't there. Behind there is the stairwell. The piano will go against that wall. I came up with the idea of creating an opening there to improve the feeling of the "crack-house" stairwell. This will also help with circulating the heat from the gas stove as it will be downstairs. Take note of the floor. See the line around where the stove is sitting? The stove is sitting on a section of wood-patterned linoleum.
Now you can see the bathroom. That door will be walled off and another door will be added from the bedroom side. Master room upstairs! All the kids downstairs! SWEET!
I absolutely LOVE exposed brick. So when I saw what was hidden behind the wall I had to do it. I had to expose that brick! Half of it had framing around it, half of it had--- you guessed it--- PLASTER. I'm going to count this as a second work-out for the day. Plaster stuck to brick, oh my!
This is me totally EXHAUSTED. Sitting on a toilet. (Those two facts are not connected.) But look at the brick! There will be further cleaning up to make it all look nice but isn't it lovely?
The entire upstairs has its original wood floors. In every room but the original kitchen, it was covered with carpet or linoleum. I would like to thank the gentlemen who decided not to use super-duper-sticky stuff to put down the fake wood linoleum. He first laid down a sub-floor and then put the linoleum on top of that. He saved us a BUNCH of hard work. Jake was able to pull up that whole section in minutes and we won't have to sand off super-duper-sticky stuff! Thank you, Mister!
Do you think my kids are starting to understand what it feels like when I clean up and they make a mess and I clean up and they make a mess and I clean up and they make a mess?

Le Cotage Conversion- Breaking Down Walls

Originally, when you walked in the front door you saw this. This is the living room. To the left of the window was a gas stove. Through that arch and to the left was a bedroom. Through the arch straight ahead was the bathroom and to the right was a bedroom. Now, imagine being on the other side of this wall in the bedroom...
That wall is now bare naked studs. Harris is in the bedroom and Morgan in the living room. They are tearing down plaster walls which is not like modern dry wall. Tearing down dry-wall is like a vacation after tearing down plaster walls. 


 Here is the before picture of the corner with the gas stove. It will be moved downstairs.
Here is the after picture of that corner. If you've ever built a house, you may notice something missing inside those exterior walls. If you said insulation you were right! I bet this house was very, very cold in the winter. I bet the inhabitants stayed right next to that gas stove.


Before that bare naked stud of a wall could come down, Jake had to install a beam up in the attic. (No, this is not the beam, or the attic.) While he did that- and Harris said it was very hot up there- I and the tweeny-boppers got to vacuum the floor joists in the basement. Those are the up and down boards of wood that hold up the floor on the main level. You probably have some in your house, too! To be more clear, this is the ceiling of the basement.  I took this picture to show something that I don't think is done very often any more. See the gray stuff on those boards? That's concrete. Any guesses as to WHY floor joist boards would be covered in concrete? They were first used to form the concrete foundation walls, then used to hold up the floor. I know my environmentalist friends are feeling all warm and fuzzy right now. We cleaned up all the cobwebs and dust so that Jake can spray Kilz on the wood to kill the smell of a damp 1937 basement.

Here is the new beam in the attic.

FINALLY the wall could come down. We are so happy about how this has opened up the space. A little recap: The original bedroom had two windows. We closed them off (I'll explain why in a minute.)--- you can see them in the walls. We cut out part of the wall and added double french doors. The french doors open up onto the back deck. What once was a bedroom will be our kitchen. That's why I needed to get rid of the windows, so I could have cabinets on the walls. The original living room will still be the living room.


Le Cotage Conversion- Adding More Texture


 SOrry it's been so looong since I've given an update on the house. This here is not the best picture, but the house is in constant stages of variance which prevents any good kodak moment. As you can see, Jake built a fine front porch which had to be stained and then oiled. After a trial run with using lattice for the deck-skirting (I HAVE ALWAYS HATED LATTICE) we finally came up with a MUCh more attractive option---- cedar fencing.


Here are some children trying to make fire with wood. It was amazing how long they kept trying and how they would come up with different methods. No luck, tho. (Thankfully)
Here, the foundation walls are being covered with something similar to stucco. This stuff actually has more of a rubbery quality which is supposed to behave better with the expansion/contraction that happens in our climate. I like to call it adobe.